 I follow a page on Facebook called “Grow Food Not Lawns“, they are HUGE advocates for getting rid of the water hog called a lawn and planting it with something more beneficial to the homeowner. I have never been very interested in lawns as they require a lot of water, upkeep and I find them a rather large waste of space.
The water district in my area offered a “Lawn to Garden Rebate Program” which would pay up to $1,000 for homeowners or $10,000 for commercial, municipal or HOA’s. Basically $1 per square foot of lawn removed.
It sounded great when I first started, and then I read the “Steps to Participate” and I knew with my schedule and budget I wasn’t going to benefit from their program. This didn’t stop me. I wanted to work on my schedule and the financial rebate wasn’t a driving force for me.
My neighbors followed the water companies program, they removed their lawn, re-did their walkway, put in a patio, re-did their irrigation system with drip irrigation. It looks great, took them about 3 weeks to get it all done. Their front yard now is VERY attractive. People drive by all the time and stop to take pictures.
Before
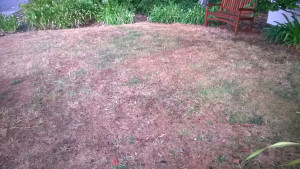
Before I had some nearly dead/dormant grass, it sloped towards the street (as did all run off from the rain). It was hot on the ground in the summer time and the grass hurt to walk barefoot on(well mostly because my neighbors have sweet gum tree‘s and those devilish little spike balls were all over my lawn).
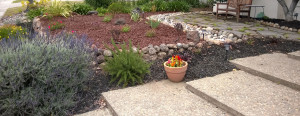
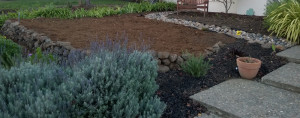
After
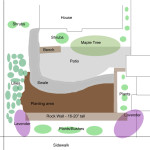
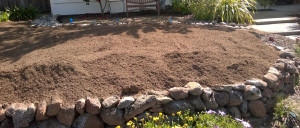
I dug up all the grass, de-rooted the ground (there was a tree that had been chopped down years ago), removed all the plastic from the sod, dug a swale, routed the gutter downspout through the swale, installed a stone patio with topsoil as its filler, raised the ground level with some “Moss Rock”, planted drought tolerant plants, installed drip irrigation and laid down a healthy layer of mulch.
Work Begins –
Since I did most of the work myself, I photographed my progress. Read on below for how it all went.
I grew up surrounded by a garden, my parents both have green thumbs, so I spent time in my youth doing yard work – mostly against my will. However, I gained a vast amount of knowledge in the process which is only coming back to me now. But honestly I also watched a lot of YouTube videos for everything I did, to learn tips and tricks for my project.
My lawn had a giant tree root visible on the surface growing through it. I had purchased a Mattock from Home Depot and decided to rip it out one day. Sadly, all it took was one swing and the handle broke. Based upon the reviews, it was bound to happen.
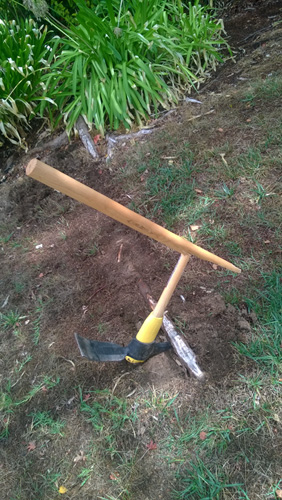
Mattock handle broke trying to remove tree root.
Luckily a replacement wooden handle was easily gotten and back to work I went.
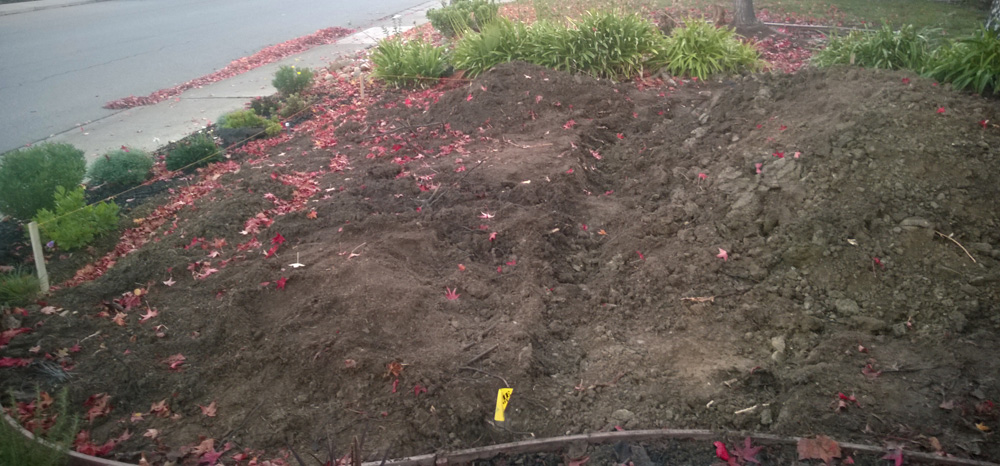
I had about 80% of the lawn dug up, using the 3″ wide end of the mattock to dig down about 3″, just under the plastic that held the sod together. I then pulled it up and turned over these large swaths of sod/lawn/dirt. Turning the grass over helps the grass die by blocking the light from getting to the plant. Plus it helps to dry out the dirt. I removed the top 3″ of top soil, something I would have to replace at a later date.
With all those grass swaths, I turned them over and built piles on the ground. Halloween was quickly approaching, and a torn up yard looks scary at night with the right lighting.

Epic Halloween display.
We had an epic Halloween display, but it was mostly just cover for me while I tore up the front yard. The tree roots popping up out of the ground made it all worth it. During the day the front yard looked terrible from the street.
After Halloween I still had massive piles of dirt/dead grass in the front yard and I needed to get rid of it somewhere. The volume of dirt was ginormous and hauling it to the dump would have been expensive as the dirt isn’t considered “clean” due to all the plastic in it.
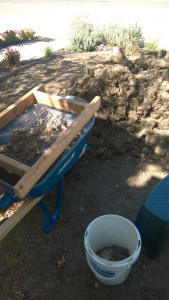
So I fired up a DIY search for a “soil sifter” on Pintrest.com. I’m not sifting compost, I’m grinding dirt out of sod, ensuring to not keep the little grass shoots.
Using some 2×4’s, 1/2″ metal screen mesh, some screws and staples I built my own “soil sifter”. I set it on top of my wheel barrow and went to town. I re-used the chlorine tablet buckets (I had a pool. 😉 ), and ground out the sod chunks, saving the dirt and discarding the plastic/grass combo in the trash / yard waste bins.
It takes a lot of muscle and patience to do this work. I could work through a 5′ x 5′ by 4′ pile in about 8 hours. At the end my back would hurt but it really cut down on how much I would have had to haul away. The dirt that I ground out was very fine and saved me from buying dirt to back fill the ground.
Once all the grass was removed, I went on to dig up the area, basically a massive root finding mission.
Why would I do this? So that when I dig in plants or irrigation piping in the future I already know I won’t run into more roots. It would make things easier. I probably filled up the green yard waste container 10 times over. My neighbors don’t know it, but the extra space in theirs… yeah I used that too. Basically – so many roots were crisscrossed under my lawn.
I did think about the thought of removing tree roots would hurt the tree. Its been 8 months now and the trees are fine. New roots will grow in due time.
I dug out all the old sprinkler piping as well. I had to give myself a clean slate to work with.
Hired help –
By the middle of December, after 3 months of an ugly front yard, I knew I wasn’t moving quick enough – I hired some local landscapers to build a dry-stacked moss rock wall.
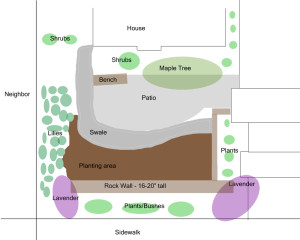
I also knew we would have another Halloween display with lots of light so an electrical conduit was buried at the same time. Our front yard design had 1/3 for a stone patio, and 2/3 for plants. A swale would divide each part.
A Swale – as defined by Wikipedia – are designed to slow and capture runoff by spreading it horizontally across the landscape (along an elevation contour line), facilitating runoff infiltration into the soil.
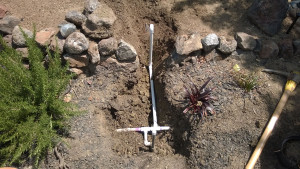
Mine is dug 2′ deep, 2′ wide and is about 25′ long. I have buried 25′ of 3″ black drainage pipe (10′ of solid pipe and 15′ of perforated pipe). The piping is perforated to allow water from the roof gutter to infiltrate into the ground. Of course, this would require rain.
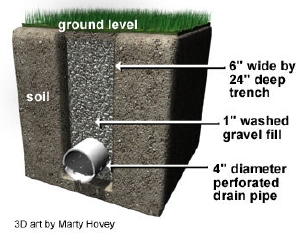
As shown how to bury a drainage pipe online, the pipe is surrounded by gravel – found at any masonry supply yard, and then landscape fabric is between the gravel and the ground. On top of the swale, at ground level, the rock has been shaped like a dry river bed, more landscape fabric was laid down and river rock as placed as well.
This took two guys 2 days to build the wall, swale, bury an electrical conduit, remove a tree stump and re-plant the lilies.
Total cost: $700
Labor – $400
Supplies – $300
Free compost –
There is a local equestrian facility that had horse manure compost for free. The landscapers picked it up and delivered for free.
The Horse Manure Compost is meant to give the soil much needed nutrients. I knew it would eventually disintegrate and I would need more top soil in the future.
New Years came and went, sadly the rain storms were few and far between.
I found another local guy that makes top soil and we had a truck load delivered. I moved some of it to the front yard to level out the ground after the horse manure compost had disintegrated.
Patio Installation –
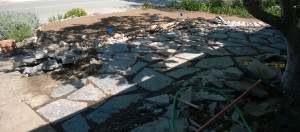
We looked around at a few masonry supply stores and found a stone for our patio and bought a pallet of “Misty Gray” flagstone. I hired the same landscapers as before to lay down the patio.
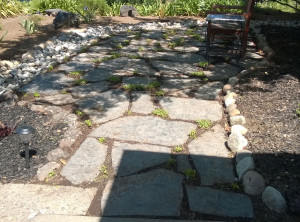
The landscapers also leveled out the top soil and used the extra as the filler between the flagstone in the patio. Normally, sand is used to secure the rocks in place, but we wanted a ground cover between the stone, so soil was the next best option.
These plants were delivered in flats, so I cut them out and put them between the stone. They’re supposed to spread quickly. They do just fine with being water via recycled water.
For the planting area, 20+ plants were put in, mostly drought tolerant – some not so tolerant to recycled water, but that is still a learning experience.
Drip Irrigation –
I knew I wanted to lay down a layer of wood chips on top of the ground eventually – it has been proven that it helps the ground retain moisture and lower the watering costs – but I needed to install drip irrigation first.
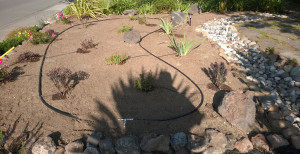
I have done some drip irrigation installation before so I had a general idea of what needed to be done. I was going to tap into the 3/4″ PVC line that ran near the wall, then plumb it up to the raised bed and install a drip loop using 1/2″ tubing.
Off to Home Depot for supplies.
- 1 – 1/2 in. (0.700 O.D.) x 100 ft. Poly Drip Tubing – $11.97
- 3 – 3/4 in. x 1/2 in. FHT x MHT Hose Adapter – $1.98
- 1- 30 pack – 1/4 in. Barbed Couplings – $5.77
- 1 – 1/4 in. x 100 ft. Poly Tubing – $7.61
- 1 – Drip Tubing Punch Tool – $0.97
- 3-4 packs – 2 GPH Pressure Compensating Dripper (10-Pack) – $5.48 or similar
- 2 packs – 1/2 in. Galvanized Tubing Stake (10-Pack) $3.89
And whatever else I needed for the 3/4″ PVC – mostly some T-fittings and elbows.
Mulching
At the end of the project – brown wood chips were laid down – they were on sale at home depot – 4 or 5 bags for $10. I also added some bags of black mulch as well to fill in the spots that were missing.
All said and done, it looks great. The plants will grow up eventually.
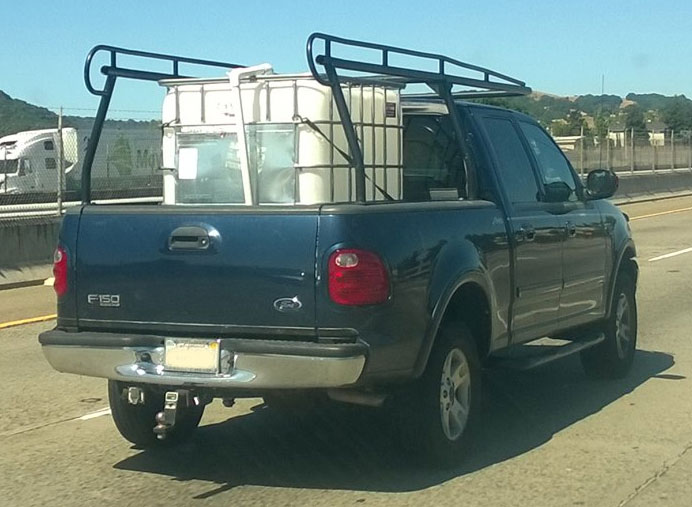
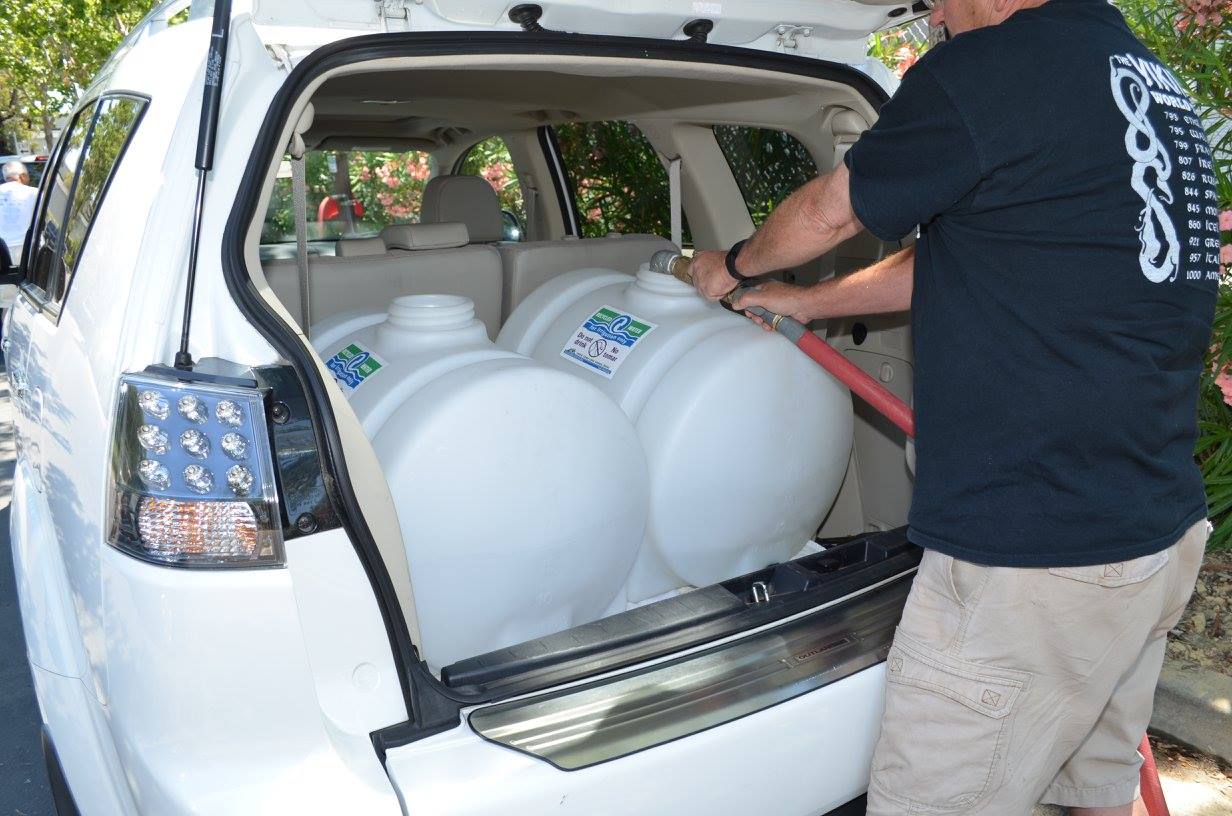
As far as water usage goes – I have only run the irrigation system to test that it works and doesn’t leak. Other than that, I just keep hand watering with RecycledH2O as needed.
Blog Posts utilized in the creation of this front yard:




Leave a Reply