I wrote my first post on Getting Started with RecycledH2O rather quickly and realized I may have left things out. I hope with this post it clarifies things a little.
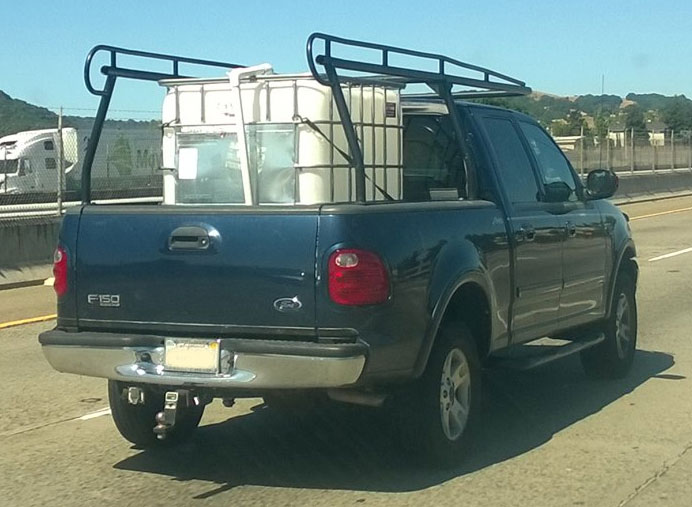
My truck bed supports ~ 1200 lbs which is about 143 gallons of water (1200lbs divided by 8.34 lbs/gallon =143 gallons). I bought a 150 gallon tank that fits in the back of my truck. Larger trucks could support more weight, smaller vehicles hold less. It all depends on how much water you need and what is your application.
Things You Will Need (in no particular order)
- Vehicle to transport water with – a gallon of water weighs 8.34 lbs
- Tank to hold water in – should have a screw on cap/lid
- Hose connection to unload tank
- Pump (or gravity fed)
- Discharge hose/piping to water yard or fill on site tank
My tank is an Aqua Tank II that I bought online from BayTec Containers. It costs $199.95. Once I ordered it, it showed up in about 2 weeks.
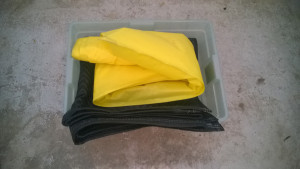
When I researched this tank, it was recommended to put something under the tank if its on a surface that has the possibility of puncturing the tank – like a truck bed. I went to Harbor Freight and picked up a movers mat for $4.49. It would protect the tank from the truck bed, it was inexpensive would fold up easy and is light weight.
The tank has a 3/4″ male hose connection and a 3/4″ female hose connection. I chose to use the 3/4″ female hose connection to fill and unload from. This way I can connect a small hose from the tank to the hose at the fill station and to my pump when I get home.
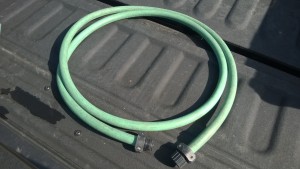
The hose I use is 6 feet long. Its made from an old hose I had laying around the garage. I cut it to size and installed a male and female connector that I bought from Home Depot – similar to the one linked.
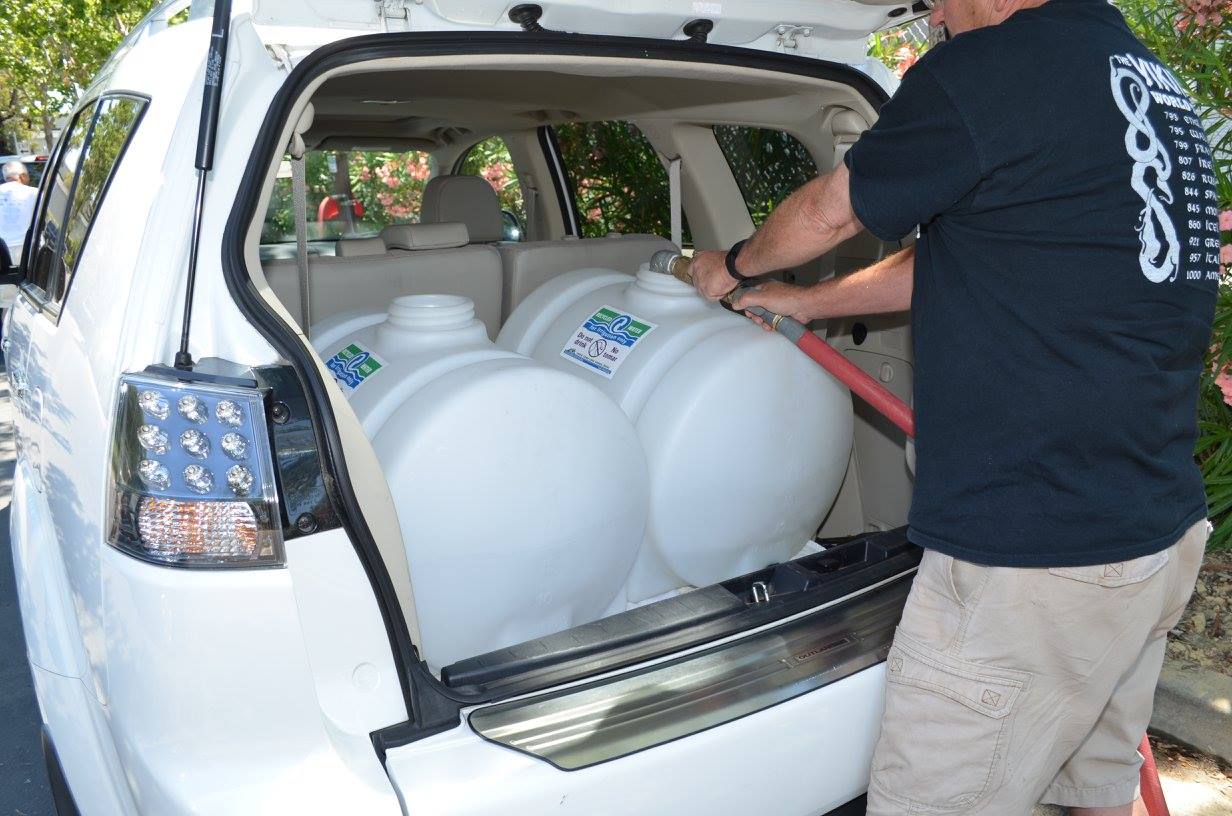
When in use, remove the plug from the female end on the bag and connect the male end of the hose. Fill the bag, then reinstall the plug at the end of the hose. By following the idea that water will seek its own level, raise the end of the fill hose and disconnect the hose at some level above the top of the bag – this stops any spilling – insert the plug into the end of the hose. Then the hose can be anywhere in the truck during transport from the fill station and won’t unload unexpectedly.
Now that we have our materials – one more piece of paper is required before we can start filling.
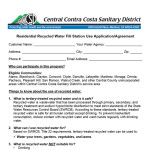
As written on the CentralSan.org/RecycledWater website – a Residential Recycled Water Use Application/Agreement must be filled out prior to first use. You can download it from the Districts website. They would also like you to read the Residential Recycled Water Use Training Presentation. It basically tells you what Recycled Water is, what it is NOT suitable for, things to follow when using Recycled Water, Health and Safety Guidelines, and how to obtain Recycled Water. There is also a site map of their Residential Fill Station and contact information. Take this form with you the first time. Eventually they will create an “authorized user” card which you’ll hand to the attendant when you return so they will know who you are.
They need to track how much water is taken and where its taken to. They won’t sell your information, no worries there.
I posted a video of the drive up/setup/water filling process – its a 12 minute video condensed down into 48 seconds.
Now that we have our information – off to the fill station.
- Pull up to fill station – if there is an attendant already there give them your information and setup your tank
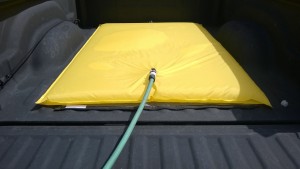
- Lay down the movers mat
- Lay down the AquaTank II on top of it
- Connect male end of your hose to female end on bag
- Ask fill station attendant for the attachment for a 3/4″ hose – install it on end of 1″ piping
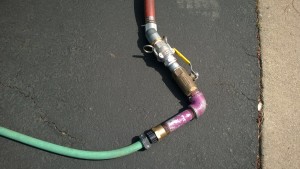
- Connect female end of your hose to their hose.
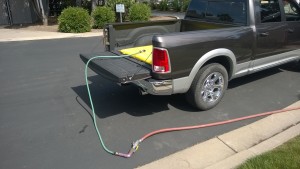
- Picture on right shows my hose connected to their brass 3/4″ to 1″ attachment, then its connected to their 1″ purple pipe, to a ball valve, etc. Ensure the valve is closed when you connect it all.
- When ready, slowly open ball valve to let water into bag.
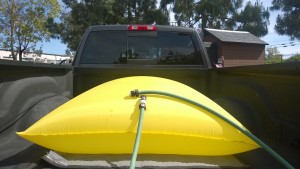
- The bag will fill up. The first time you fill up, it may seem like a lot of water. Pay attention to how much the truck bed drops and look at the bulge on tires as the weight goes into the back of the truck.
- My truck has an automatic leveling system (air bags) and they inflate to lift the truck back up.
- Through trial and error you’ll find a point on your truck to reference when its full.
- For me, its the part on the truck bed where its angled before the top flat bar.
- When done, close the valve on the fill hose and disconnect hose using the mindset that water will find its own level.
- Install male plug in your hose segment. See above picture.
- Secure hose segment in truck, flip up tailgate and drive home.
I set the truck to “tow/haul” mode. It allows for more time per gear prior to shifting. Your truck may have something similar – read the owners manual if unsure. The other option is putting the truck in 4-wheel drive – I had some success with transporting liquid that way – but there was more stress on the transmission in the process. Drive carefully, give yourself more room when braking and take corners slowly.
When I watched the video footage for the YouTube video I made, the bag does shift around corners. You could strap it down, totally up to you. Just be mindful that you have a 1200 pound bag of water in the back of your truck.
I tend to drive slower on the freeway and look ahead on the road so any issues can be spotted and proper precautions can be made.
Once home, I park my truck so that the fill side (now the unload side) is downhill. This makes unloading easier. I tried unloading once on a flat surface and ran into issues towards the last few gallons in the bag. You’ll see.
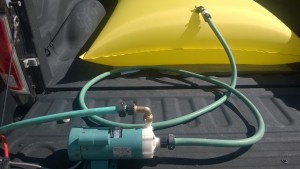
- Connect hose segment to suction side of pump.
- Remove plug from hose.
- Follow the “water will find its own level” mindset and connect hose to suction side of pump
- Connect hose to watering spot to discharge side of pump.
- On my pump, the discharge side has the brass elbow on it.
- When ready, plug the pump into the power outlet/turn it on to start the flow of water
- The discharge pressure will vary depending how high or low the end of the hose is and how powerful your pump is. Any kinks in your lines will also cause flow and pressure issues.
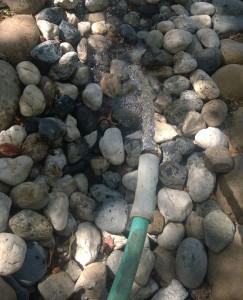
- This is what flow looks like out of my house. This water is going into my Swale. See this article as to what a Swale is and why I find it important.
- Water the yard, hook it up to a oscillating sprinkler for the lawn or do whatever you want with the water.
- Enjoy!
When you’re all done, the bag will be flat again. Turn off the pump, disconnect the hoses, roll up the bag and fold up the mat. All ready for your next load.
I track all my trips from the fill station in an excel file I have pinned to the home screen on my phone so I know how much water I’ve taken home. You can set yours up however you please.
Good luck! Comment below with questions.

Leave a Reply